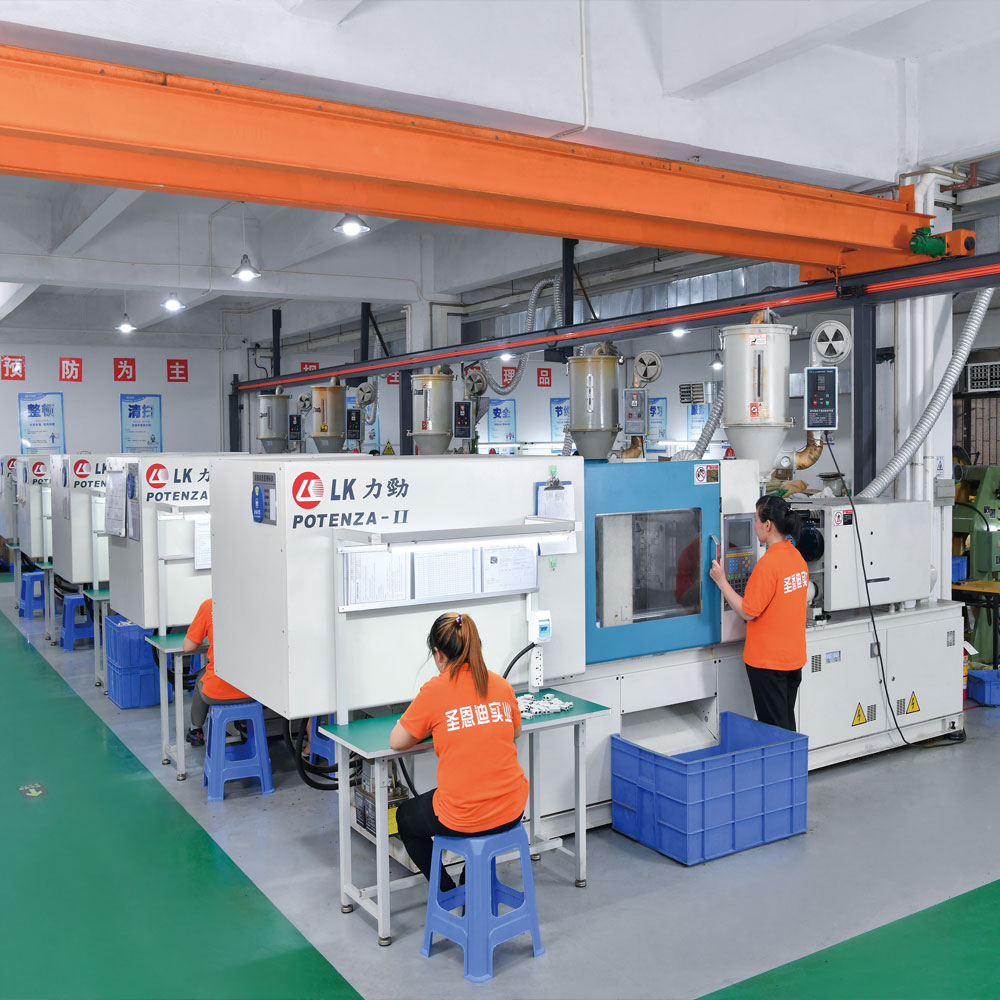
There are many types of electronic connectors, but the manufacturing process is basically the same and can generally be divided into the following four stages:
Stamping
Plating
Injection molding
Assembly

Terminal stamping
The manufacturing process of electronic connectors typically begins with stamped pins. Electronic connectors (pins) are stamped from thin metal strips using large high-speed stamping machines. One end of the large roll of metal strip is fed into the front end of the stamping machine, and the other end passes through the hydraulic workbench of the stamping machine and is wound into the take-up wheel. The metal strip is pulled out by the take-up wheel and rolled up to stamp out the finished product.
Terminal plating
After the connector pins are stamped, they should be sent to the electroplating section. At this stage, the connector's electrical contact surfaces are coated with various metal coatings. Problems similar to those in the stamping stage, such as twisting, cracking or deformation of pins, will also occur when the stamped pins are fed into the plating equipment. Through the technology described in this article, such quality defects can be easily detected.
However, for most machine vision system suppliers, many quality defects that occur during the electroplating process are still "forbidden areas" of the inspection system. Electronic connector manufacturers want inspection systems that can detect inconsistent defects such as small scratches on the plating surface of connector pins. Although these defects are easily identifiable on other products (such as aluminum can bottoms or other relatively flat surfaces), they are difficult for visual inspection systems to detect due to the irregular and angled surface design of most electronic connectors. enough images to identify these subtle defects.
Shell injection molding
The plastic box holder for the electronic connector is made during the injection molding stage. The usual process is to inject molten plastic into a metal membrane and then quickly cool it into shape. So-called defects occur when the molten plastic does not completely fill the membrane. This is a typical defect that needs to be detected during the injection molding stage. Other defects include filled or partially blocked connector holes (these connector holes must be kept clear and clear to allow for proper insertion of the pins during final assembly). Since backlighting can easily identify missing box holders and plugged sockets, the machine vision system for quality inspection after injection molding is relatively simple and easy.
Housing and terminal block assembly
The final stage of electronic connector manufacturing is assembly of the finished product. There are two ways to connect the electroplated pins to the injection molded box base: separate plugging or combined plugging. Individual plugging means connecting one pin at a time; combined plugging means connecting multiple pins to the box holder at the same time. No matter which connection method is adopted, manufacturers are required to detect whether all pins are missing and correctly positioned during the assembly stage; another type of routine inspection task is related to the measurement of the spacing on the connector mating surface.

The detection of "actual position" (True Position) is another requirement of the detection system for connector assembly. This "actual position" is the distance from the top of each pin to a specified design baseline. The vision inspection system must make this imaginary baseline on the inspection image to measure the "actual position" of each pin vertex and determine whether it meets quality standards. However, the reference point used to delineate this reference line is often not visible on the actual connector, or sometimes SEDears on another plane and cannot be seen at the same time in the same shot. In some cases, the plastic on the connector housing had to be ground away to determine the location of this reference line. A related topic does arise here - design for detectability.
Design for Inspectablity
Due to the continuous requirements of manufacturers to improve production efficiency and product quality and reduce production costs, new machine vision systems are becoming more and more widely used. As various vision systems become more common, people become more familiar with the characteristics of such inspection systems and learn to consider the detectability of product quality when designing new products. For example, if it is desired to have a baseline against which "actual position" can be detected, the visibility of this baseline should be considered in the connector design.


SHENZHEN DMIC CO.LTD
Office Add:No.1408, Building 8, Qianhai Kexing Science Park, Xixiang Street Baoan District, Shenzhen China(518102)
Blog
sitemap
Privacy Policy
XML
© 2026 Shenzhen DMIC Co.,LTD. All Rights Reserved .  network supported